I love eating sunflower seeds and I have done so for as long as I can remember. I'm not exactly sure where it began, but I feel I started my addiction to sunflower seeds during my days of little league. This addiction has grown from the eating them around the baseball diamond, to eating them whole working in the yard, to eating them while driving late at night during college and after college going to see my love, Mel, to eating them while coaching track, and sometimes just sitting on the porch and going through a small bag of them. And along with my love for eating sunflower seeds has been a desire to make my own. So, this summer I decided to try my hand at doing so. And to make it even better, my in-laws planted several hundred sunflower plants on their farm. I needed a recipe or at least a plan of attack, so I typed it into the ole' Googler box and away I went into action. I won't write a lot, but the pictures should help if you want to make your own seeds.

The sunflower plant at its best.

The four rows of sunflower plants.

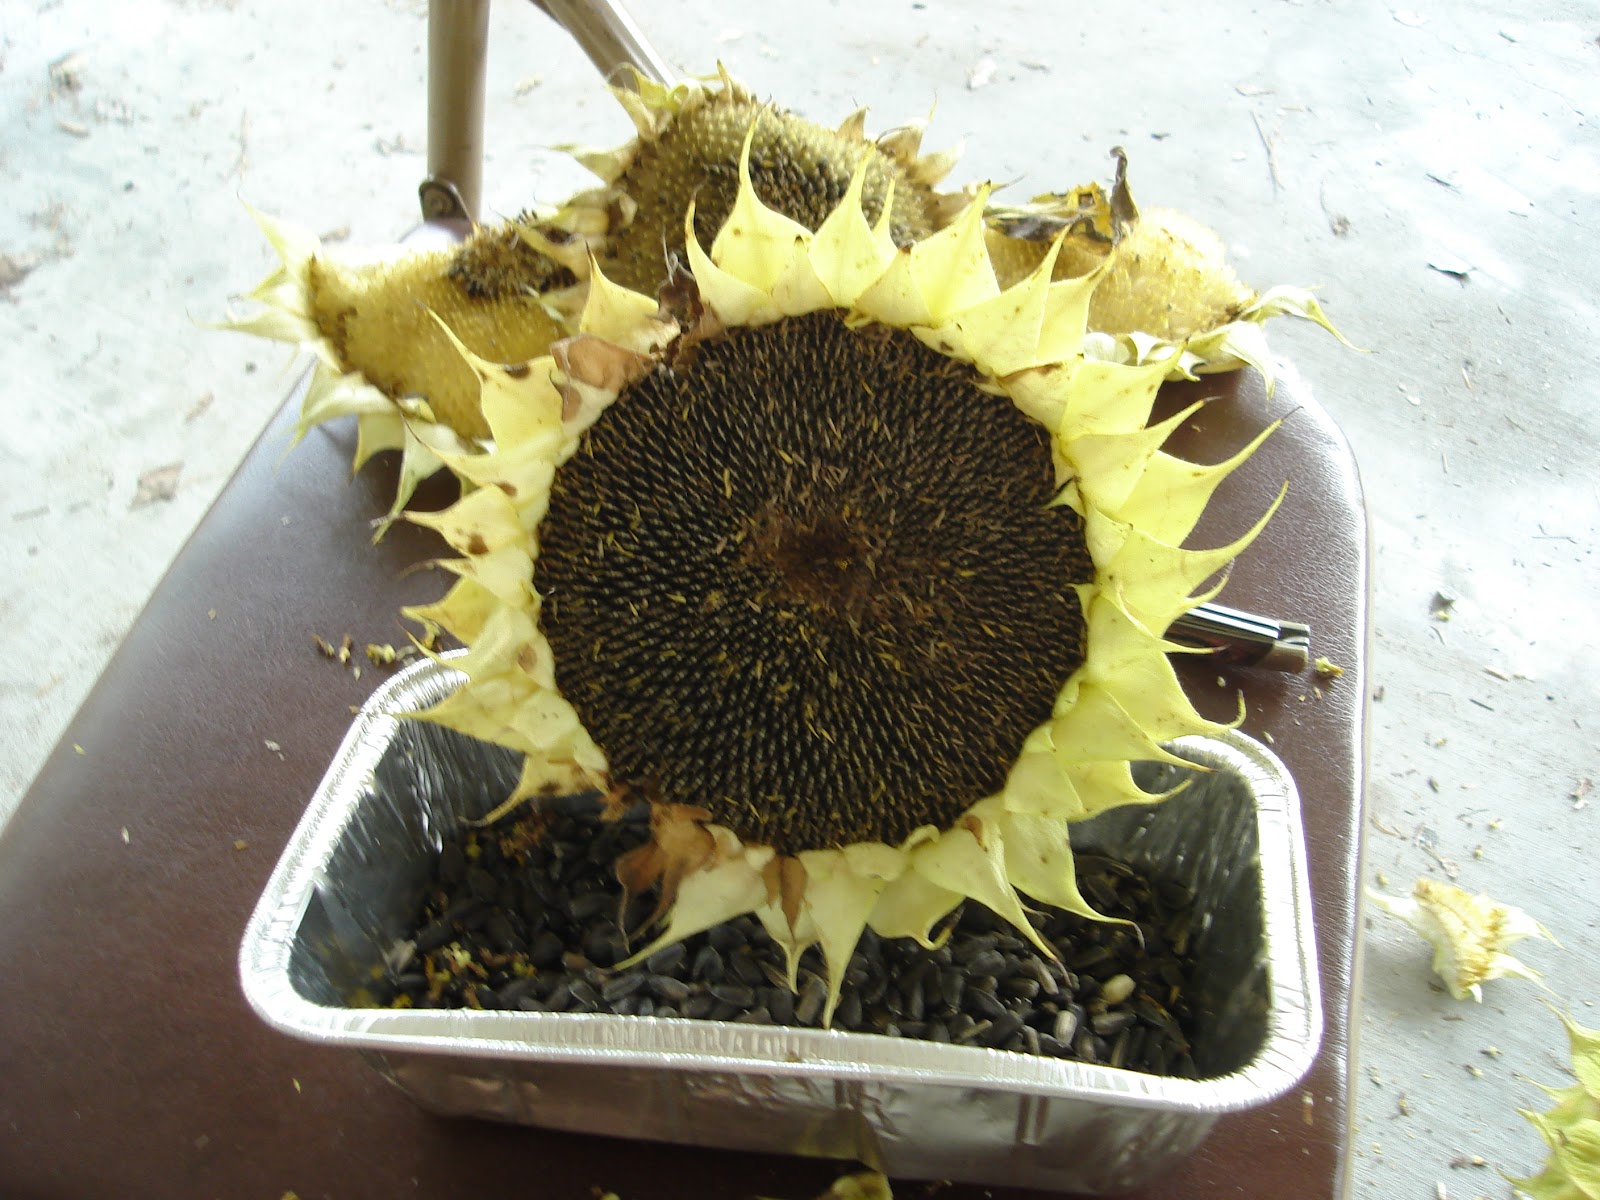
The tired bloom ready to be put to another, more tasteful use.

The head of the plant with the seeds inside. Many of this particular plants' seeds had been stolen by some very big crows already.

Cutting the head away from the stalk of the plant.

I cut 8 heads for my seeds. Obviously, if you want more, you would have to cut more.

An up-close picture of the layers of the head after I'd split it down the middle.

An example of a cleaned out part of a head and a full head.

A very full bloom.
The aforementioned bloom after most of the pistils had been removed.

Here I am removing the pistils and the seeds from the bloom.

A pic of the empty blooms and a tray of the seeds.

The tray of seeds.

A sifter and the seeds. Even with careful harvesting of the seeds from the bloom, there will still be a lot of debris from the blooms in with the seeds.

Attempting to sift much of the smaller debris away from the seeds. This didn't really work that well.

This step was the most time-consuming step. Separating the seeds from the other debris become very tedious, very quickly. Mel helped me here a lot or I may have not passed this step.

An up-close pic of the seeds and the separated debris.

The bowl of seeds before I roasted them.

My next step was to soak the seeds in salt water. The recipe I used said to use 1/3 of a cup. I got nervous and used 1/4 of a cup. My next batch will probably call for soaking the seeds in a brine made with a much larger amount of salt.

The addition of the salt.

I thoroughly mixed the salt into the seeds before I added hot water.

I let the seeds soak for around 12 hours, but a part of me wished I would have let them soak longer. Live and learn, right?

After 12 hours of soaking, the water had turned an odd brown color like the water in a pond that contains cypress trees.

I then poured the water out and let the seeds dry for a whole day.

After the seeds were relatively dry, I spread the seeds out flat on a pan.

I preheated the oven to 300 degrees...

And I roasted the seeds at this temp. for 45 minutes.

The seeds slow roasting.

The newly roasted seeds still hot in the pan.

The finished product bagged up for the portable snack they are. I guess you could say that these really are "David's" sunflower seeds.
Hope your seeds can turn out like mine and happy eating,
David
After reading this and seeing the hours and work, I am surprised that sunflower seeds are as cheap as they are in the store!
ReplyDelete